Jeep Grand Cherokee 1999-2004: How to Replace Battery
Avoid that irregular "urrrh, urrrh" sound when your Jeep is a "non-starter." Dim lights and slow starting indicates you need a new battery. Not to worry. Replacing the battery is easy and it's a DIY job, so you also save a few bucks.
This article applies to the Jeep Grand Cherokee WJ (1999-2004).
The battery is the central power source for all of the electrics on your Jeep Cherokee. This includes the starter, lights, and accessories (like your stereo and your air conditioning). If you have a weak battery, it affects the performance of all of these parts. That's why you want to make sure your battery is in great shape. The average life of the typical Jeep Grand Cherokee battery is between two years and five years. If your lights are dim and starting is a problem, replace the battery now before you get stuck somewhere and have to call for a ride.

Materials Needed
- New battery
- Ratchet
- Socket
- Extension
- Pliers
- Screwdriver (or old wood chisel or similar tool)
- Rag, water, and baking soda
- Anti-corrosion grease (optional)
- Safety glasses
- Flexible protective gloves (recommended)
Pro Tip
Consider spending a little more for a good battery. The extra money will pay off in longer battery life.
Step 1 – Remove the negative cable
Put on safety glasses. Open the hood and locate the negative battery cable (black). Use your pliers to loosen the bolt on the clamp that secures the negative battery cable to the battery.
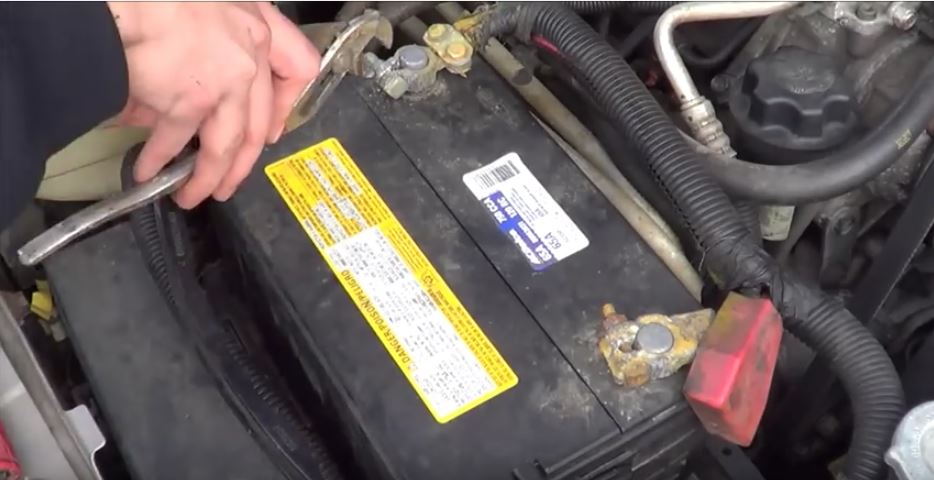
- Use a screwdriver or similar tool to pull apart the clamp slightly.
- Lift the clamp as well as cable up and off the battery.

Pro Tip
You may also want to use your screwdriver underneath the clamp to help pry the cable off of the battery.
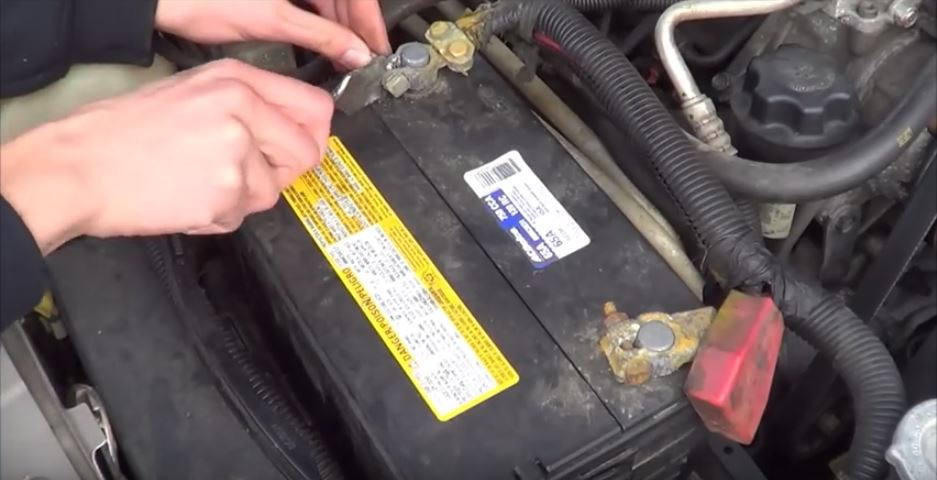
Step 2 – Remove the positive cable
Remove the positive cable from the battery the same way you removed the negative cable.

Pro Tip
Place the battery cables behind the battery and out of the way, so you can continue to work on the battery.
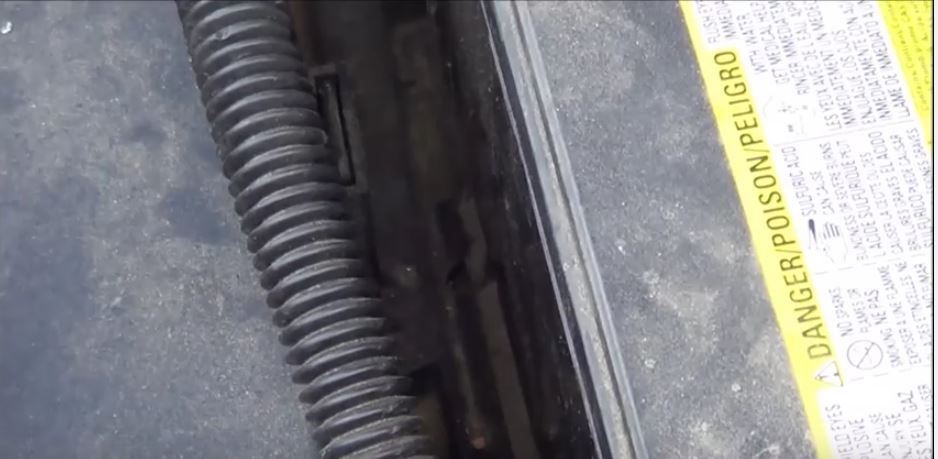
Step 3 – Remove the battery hold-down
Locate the battery hold-down. It is behind the battery on the battery tray.

- Use your ratchet, socket and extension to loosen the battery hold-down bolt. Reach in and remove the bolt.
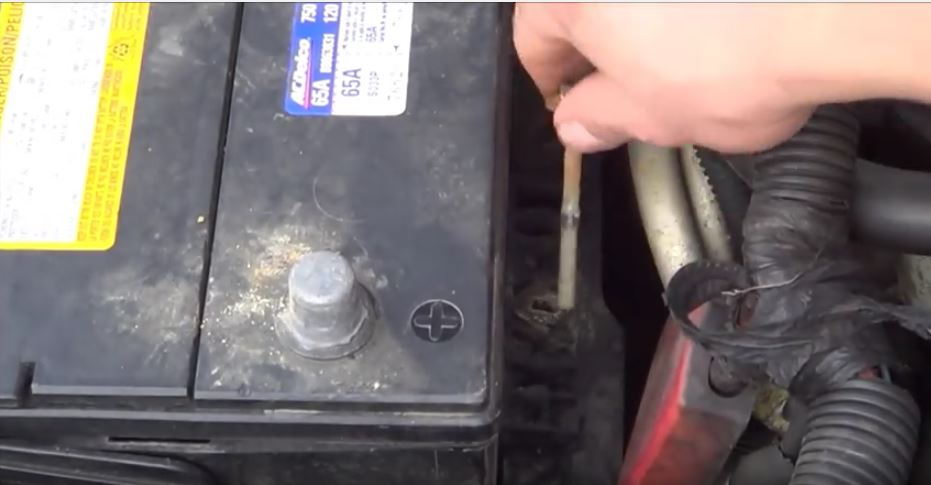
- Next, reach in and remove the hold-down itself.

Step 4 – Remove the battery
Using two hands, grab the battery by the handles (if it has handles) and pull the old battery up and out of the Jeep.
- With a damp rag and some baking soda, clean off the battery tray.

Pro Tip
Baking soda helps neutralize battery acid.
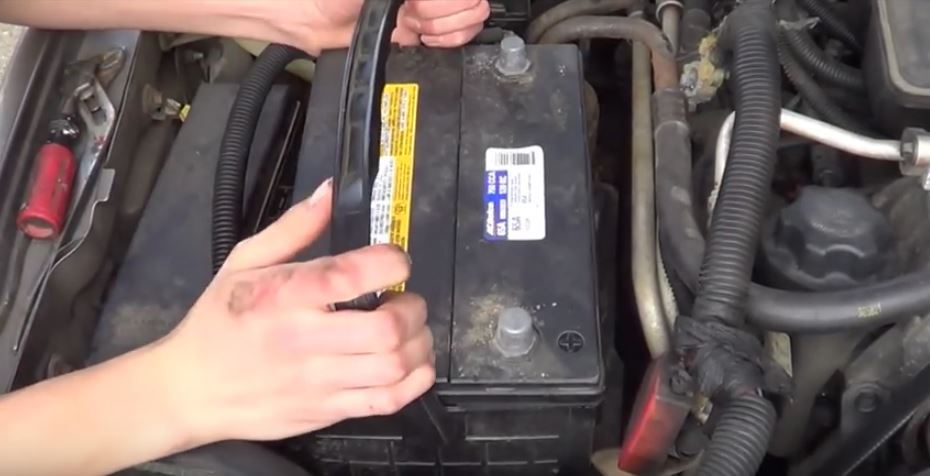
Step 5 – Install the new battery
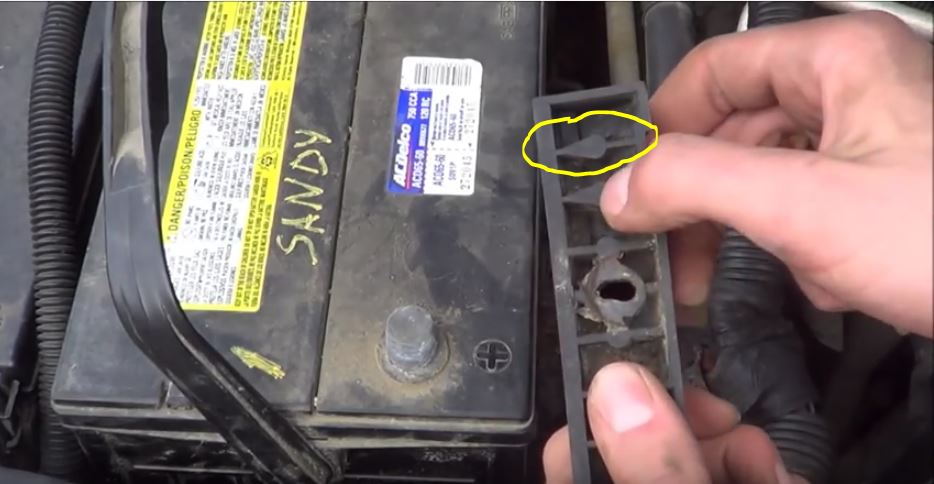
Using two hands, place the battery onto the battery tray. Pay attention to the groove on the front edge of the battery so it fits into the tray correctly.
- Insert the hold-down clamp with arrows pointing forward.
- Reinsert hold-down bolt. Hand install it and then tighten it with your ratchet, socket and extension. Grab the battery with both hands and wiggle it to make sure it's tight.

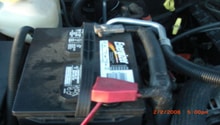
- Reattach the positive cable.
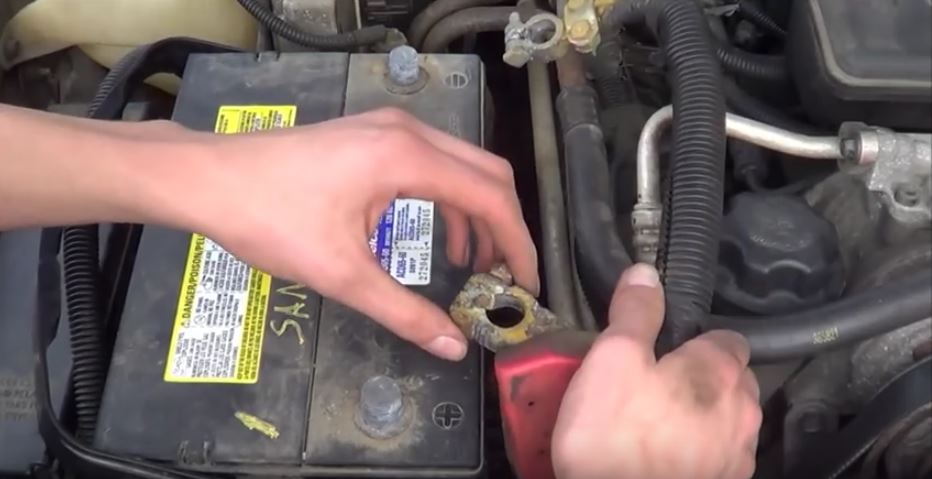
Figure 13. Reinstall positive cable. 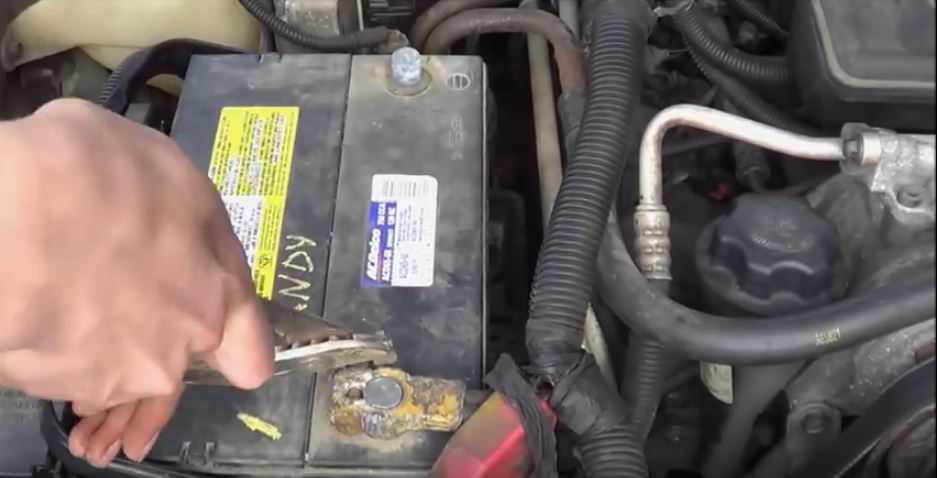
Figure 14. Snug down with your pliers.
-
Reattach the negative cable.

Enjoy the power of your new battery!
Pro Tip
Clean off the cable clamps of any corrosion before reinstalling them. Cover the cable ends with anti-corrosion grease for added protection.
Featured Video: How to Replace a Car Battery
Related Discussions
- Battery Cable Replacement Options - CherokeeForum.com
- Battery Terminal Replacement - CherokeeForum.com