Jeep Grand Cherokee 1999-2004: How to Replace Brake Line
A leaking brake line can sacrifice brake performance. Replace the bad brake lines to stay safe in the Jeep Grand Cherokee.
This article applies to the Jeep Grand Cherokee WJ (1999-2004).
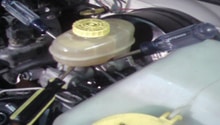
The brake system is a pressurized system, so any air that alters it will affect the brake performance of your Jeep Grand Cherokee. A leaking brake line not only lets fluid out of the system, but it also lets air into it. Replacing a brake line is a simple process; however, it requires a brake bleed in the end. A bleeding brake line will affect the feel of your brake pedal, making it spongy. If you suspect you have a brake fluid leak, take a flashlight, slide under your car, look at every caliper, and follow the line connected to it. If you see any signs of wetness or cracks, then replace it. Also, keep an eye on the brake fluid reservoir under the hood; if it gets lower, then you have a brake fluid leak. Read on to learn how you can replace a brake line.

Materials Needed
- 3/8 wrench
- Brake line pinch tool
- Clear hose
- Bottle
- Brake line
- Brake fluid
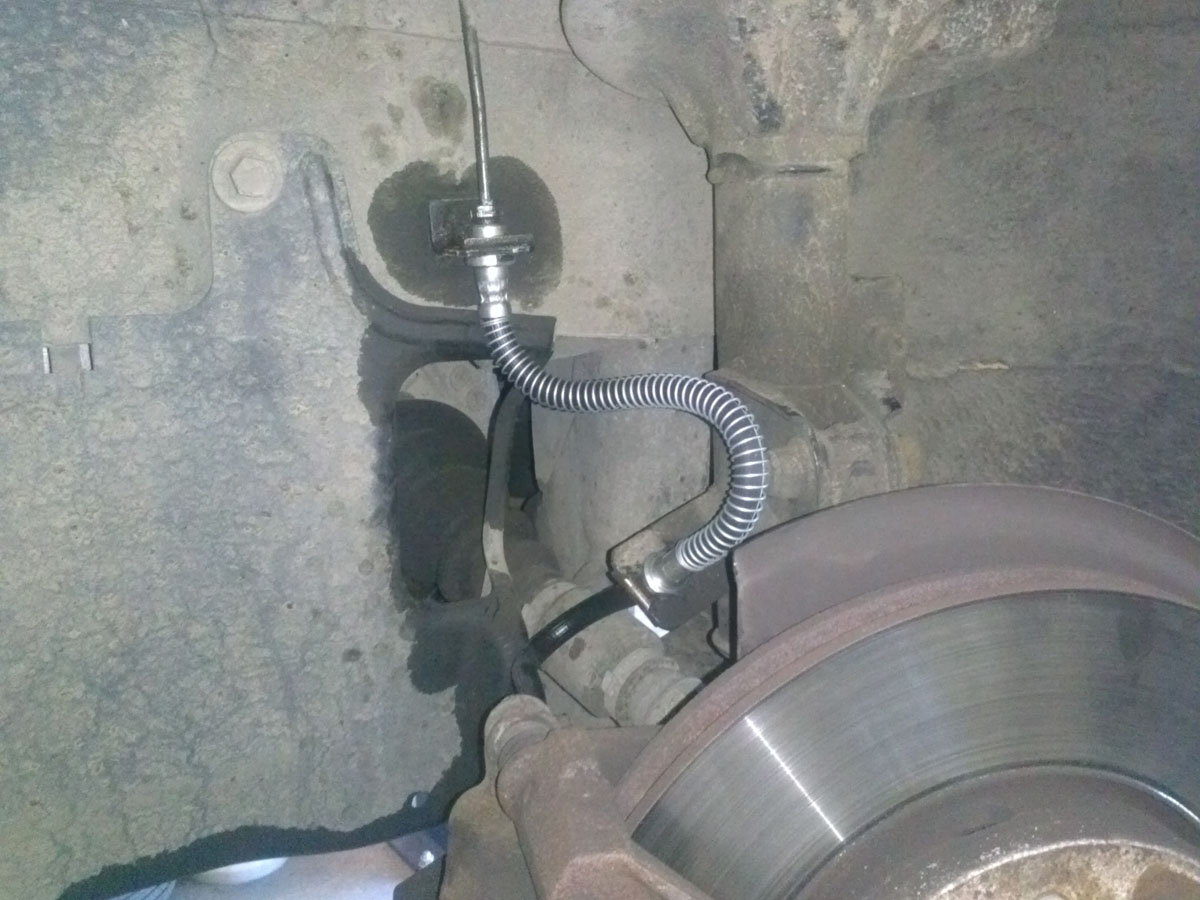
Step 1 – Locate the brake line
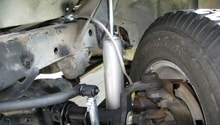
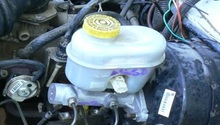
The first step is to locate the brake line that needs replacement. If you're experiencing spongy, soft brake pedal feel, then check the brake fluid reservoir to see if it's low on fluid, which is an indication of a leak. Then go under the car and look for the leaking brake line. Follow the brake line you will replace, so you have an idea of the work space you will be working in. Measure the brake line to get the same exact length.
Step 2 – Remove the old brake line
Remove the brake line nut by the caliper, then cap it off or pinch the line with your brake line plastic pinch tool. Be sure to have a rag handy for when brake fluid spills. Follow the line and disconnect any fasteners along the way that is holding the brake line in place. When you reach the other side of the line, remove the nut holding it and remove the line.

Figure 2. Pinch the brake line to avoid extra leakage. 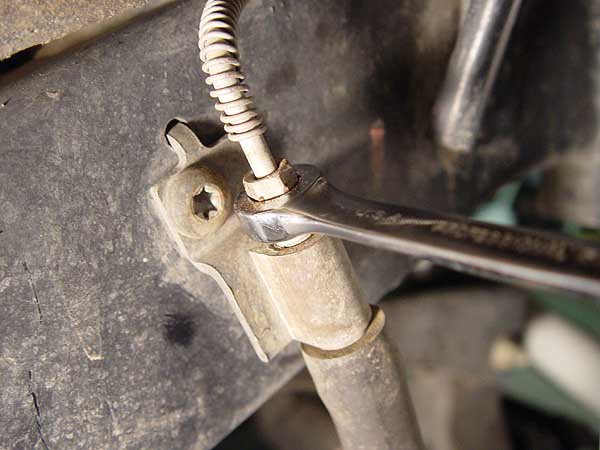
Figure 3. Remove the brake line.
Pro Tip
Brake fluid is corrosive to car paint, so be sure to wipe any as soon as it spills.
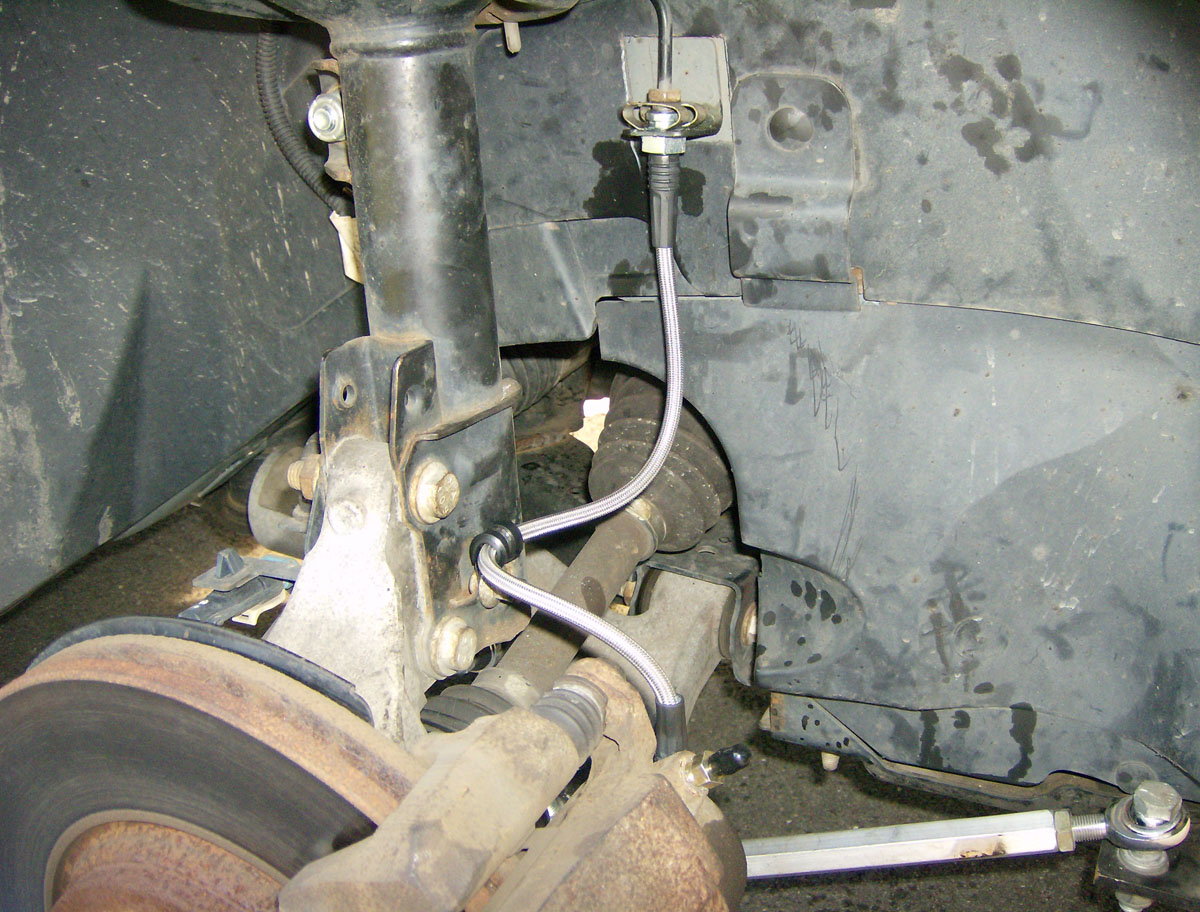
Step 3 – Install new brake line
Install the new brake line the same way. Tighten the brake line nut on one side, then run the brake line the same route the old on was routed, and re-install the old fasteners. Install it back onto the caliper and tighten the bolt. Be sure to wipe off any fluid that touched any of the components.
Step 4 – Bleed the brakes
No that you've introduced air into your brake system, you will have to bleed the air. Bleed the caliper where you removed the line from. If you are bleeding the whole system on all four calipers, start from the passenger's rear caliper, driver's rear caliper, passenger's front caliper, and end with the driver's caliper.
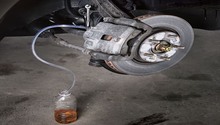
Locate the bleeder screw on the brake caliper, connect the clear hose to it and connect the other end to a bottle. Ask a friend to pump the brake pedal a few times and then keep it pressed down. Loosen the bleeder screw a quarter inch counterclockwise, and then watch for bubbles in the brake fluid coming out. When you stop seeing bubbles, tighten the bleeder screw first, then ask the friend to let go of the brake pedal. Be sure to top off the brake fluid in the reservoir, and if it gets too low, you will have to repeat the process.
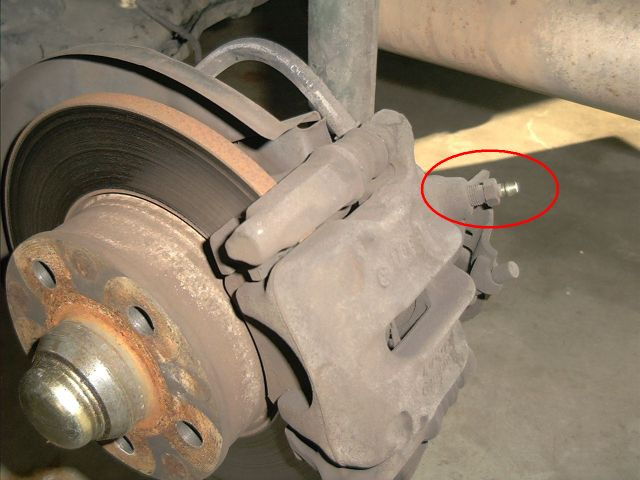
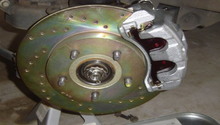
Figure 5. Caliper's bleeder screw. 
Figure 6. Bleed the brakes.
Related Discussions
- Installing Hard Brake Lines - CherokeeForum.com
- Replacing Brake Lines - CherokeeForum.com
- Tips for Replacing Hard Brake Lines - CherokeeForum.com