Jeep Grand Cherokee 1999-2004: How to Replace Brake Pads, Calipers, and Rotors
Replacing the brake components in the Jeep Grand Cherokee is a safety precaution and an important piece of maintenance. The longer you wait, the more parts you will need to replace.
This article applies to the Jeep Grand Cherokee WJ (1999-2004)
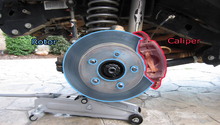
The Jeep Grand Cherokee is a strong, heavy car, and to stop it, you have a few brake pads that clamp onto the brake rotors. Depending on your style of braking, the amount of driving you do, and the quality of your brake pads as well as rotors, the friction wears them out. The longer you wait to replace the brake pads, the more chances you will need to replace the rotors with them. The calipers haven't been known to need replacement; however, like any part, their pistons can stick and cause the pads and rotors to wear extremely fast. If you hear any kind of noise coming from your wheels, it means it's time to replace some brake components. Read on to learn how you can replace your pads, calipers, rotors, and bleed your braking system.

Materials Needed
- Jack and jack stands
- Tire iron
- Clear hose
- Bottle
- 3/8 wrench
- 18mm socket and ratchet
- C-clamp
- Rubber mallet
- Brake fluid
- New brake components (as needed)
Step 1 – Jack up the car
Loosen the lug nuts on the wheel you will be replacing the brakes on, raise the car using your jack, and secure it on the jack stands. Then, remove the wheel.
Step 2 – Replace brake pads
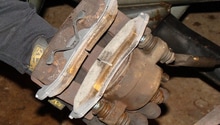
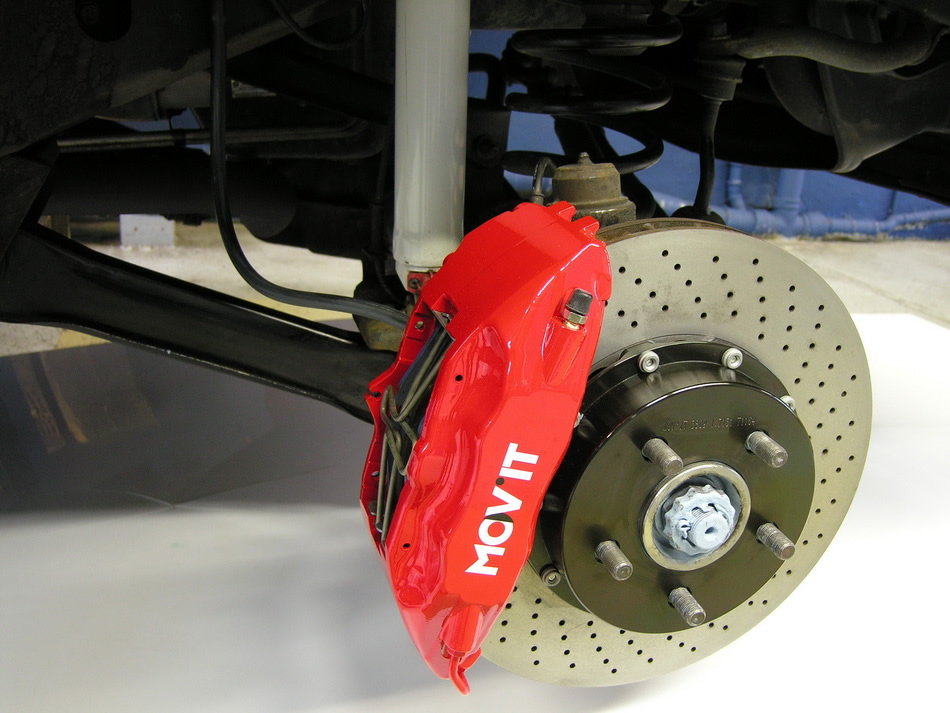
With the wheel off, use your socket to remove the caliper's mounting bolts. There will be one on top of the caliper and one on the bottom. Remove the caliper, and secure it somewhere safe without letting it hang from the brake line. The brake pads will stay on the rotor attached to a bracket, so pull it up and replace the brake pads. If you're using the old caliper, you will need to compress the caliper's piston using your C-clamp. Simply align the C-clamp so it clamps on the piston, tighten it until the piston is compressed so it fits on the new, thick pads. Install it on top of the pads on the rotor and tighten its two bolts.
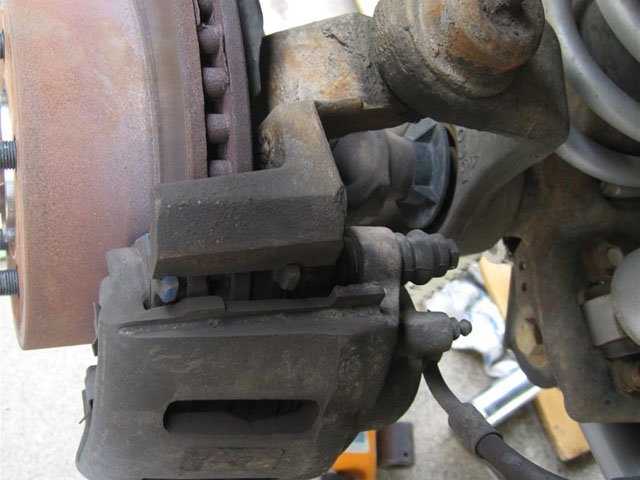
Figure 3. Remove caliper's mounting bolts. 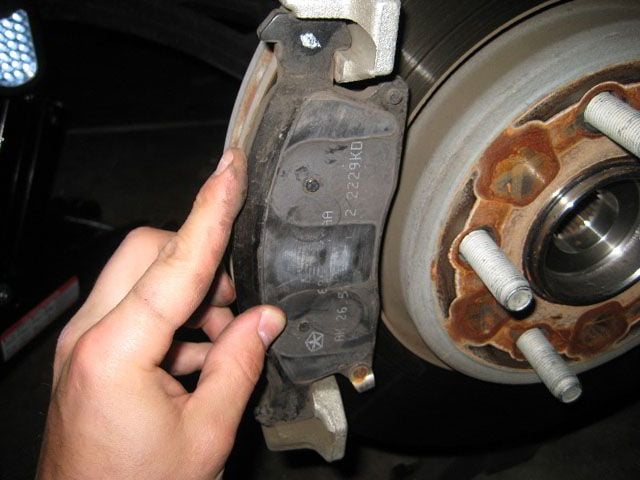
Figure 4. Replace pads. 
Figure 5. Compress brake's piston.
Step 3 – Replace rotor
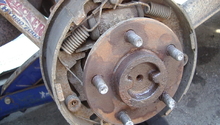
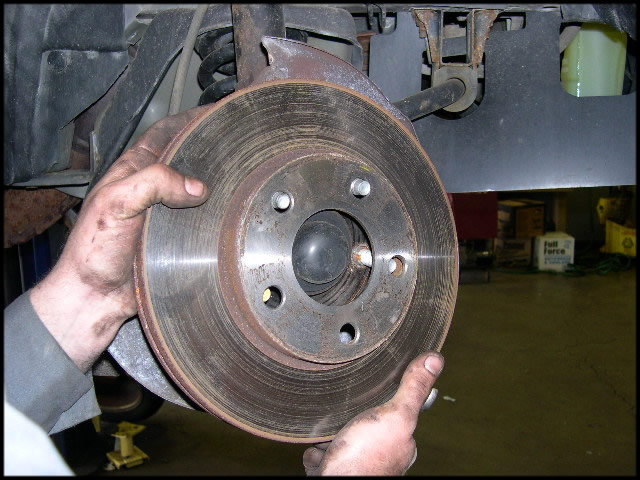
If you're planning on replacing the brake rotor, don't mount the caliper back on. Instead, leave it secured somewhere safe, again not hanging from the brake line, and try pulling the brake rotor straight out. Most of the time, it will be stuck in place tightly, so use a rubber mallet to tap it until it wiggles loose, then pull it straight out and install the new one in place.
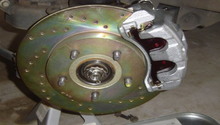
Step 4 – Replace brake caliper
The brake caliper only needs replacement if it's faulty; it's not a piece of maintenance. To replace the caliper, get a rag handy and place it under your work area, then remove the banjo bolt connecting the brake line to your caliper using your 3/8 wrench, and connect it right away to the new caliper to avoid any mess. Tighten the banjo bolt then install the new brake pads, and finally install it on the rotor. Tighten the two bolts holding the caliper in place, one will be on the top and the other one is on the bottom of the caliper.
Pro Tip
Avoid getting any brake fluid on your car or hands, as it is corrosive.
Step 5 – Bleed the brakes
The last step is to bleed the brakes from any air, since you've disconnected the brake line. Bleed the calipers where you removed the line from. If you've removed all four of them, the sequence will go as follows: bleed the passenger's rear caliper, the passenger's caliper, the driver's rear caliper, and end with the driver's caliper.
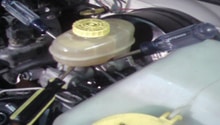
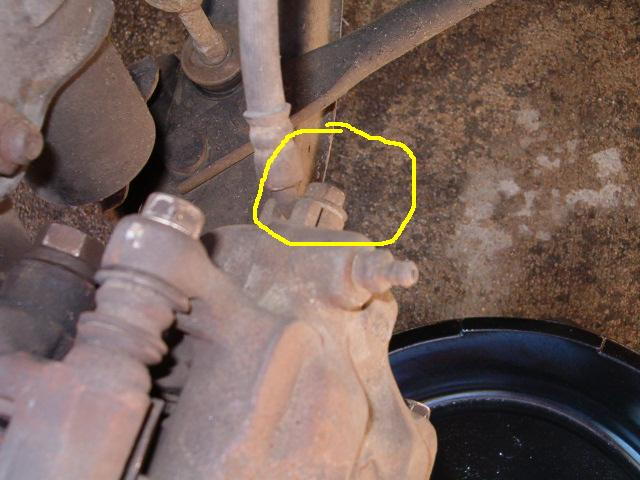
To bleed the brakes, connect a clear how to the back of the caliper on the bleeder screw, then connect the other end to a bottle. Ask a friend to pump the brake pedal a few times, and then keep it pressed. Loosen the bleeder screw for a quarter turn, and then watch the fluid coming out. As soon as you stop seeing bubbles, tighten the bleeder screw first, and then ask the friend to let go of the brake pedal. Be sure to top of the brake reservoir under the hood between each wheel; if it gets too low, you will have to start the whole bleeding process all over again. Be sure that the last thing you do is to check the brake fluid reservoir and top it off to the max line.

Figure 8. Caliper's bleeder screw. 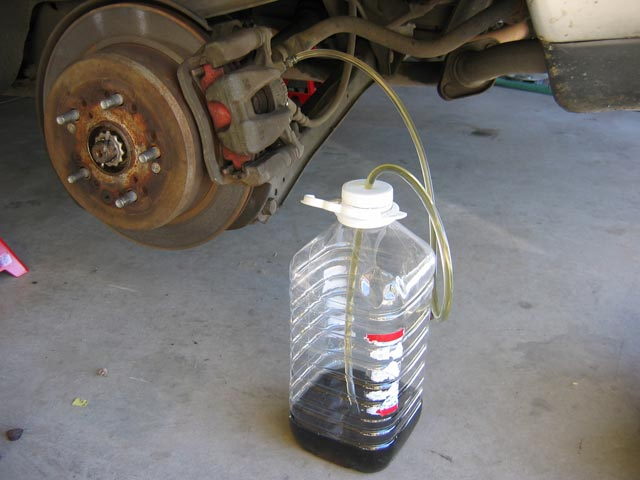
Figure 9. Bleed the brakes.
Related Discussions
- Brake Rotor Replacement - CherokeeForum.com
- Front Brake Pad Orientation - CherokeeForum.com
- Brake Pads Disintegrating - CherokeeForum.com
- Front Brake Calipers - CherokeeForum.com