Jeep Grand Cherokee 1999-2004: How to Replace Tail Light Bulbs
Tail light bulbs are easy replacements. Read on to learn the instructions you'll need to follow when replacing the tail light on your Jeep Grand Cherokee.
This article applies to the Jeep Grand Cherokee WJ (1994-2004).
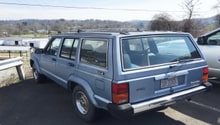
The tail lights on your Jeep Grand Cherokee provide the motorists driving on the road behind your Jeep with vital information about what you are doing, such as slowing down, backing up or making a right or left turn. Should one or both of your Jeep's tail lights blow out, you'll need to have them replaced immediately. If you are stopped because of a missing or faulty tail light bulb, you could be ticketed. Read on to learn the simple steps needed to change a tail light bulb in minutes.

Materials Needed
- Replacement bulb(s)
- Phillips screwdriver
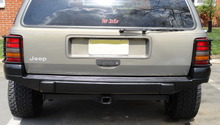
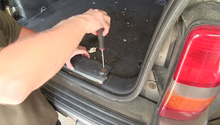
Step 1 – Remove tail light assembly
- Open your tailgate.
- Grab your Phillips screwdriver and use it to unscrew the upper and lower screws located on the side of the tail light.
- Turn each screw in a counterclockwise direction until they are completely removed.
- Put both screws in a safe location, so you do not misplace them while you work.

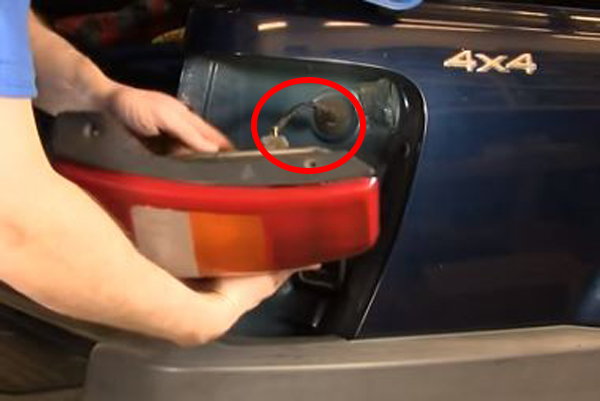
Step 2 – Pull out tail light assembly
This step does not require any tools. Simply pull out the tail light assembly by hand. As the tail light becomes loose, you will feel some tension. This is because the assembly is connected to your Jeep via a connector, which you'll need to detach by hand.
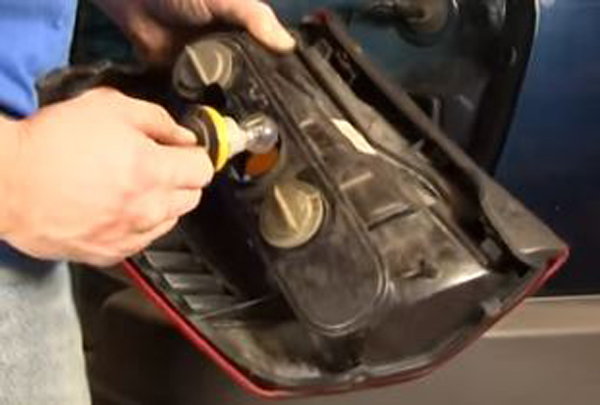
Step 3 – Remove your old bulbs
Turn the knobs to access the actual bulbs, which you'll need to unscrew to remove. You might need to work the bulbs back and forth to unseat them, but do not exert too much force.
Pro Tip
It's recommended that you replace all your bulbs at once. If one bulb has died, there's a good chance the others are on their last leg, too. The low cost of bulbs also makes this a really inexpensive repair, so you might want to toss out all your old bulbs and replace them now to avoid needing to go back later.
Step 4 – Reconnect your tail light
Reconnect your tail light to the connector by simply pushing it into place. Slide the tail light assembly back into place, being mindful to put the mounting ball (on the side of the unit) into place along the Jeep. Then, grab your Phillips screwdriver and reattach the screws you removed in Step 1.

Step 5 – Test your tail light bulbs
Have a helper jump in the cabin of your Jeep and press on the brake pedal to test your tail lights.
Featured Video: How to Replace Tail Lights
Related Discussion and Videos
- Brake Lights, Tail Light Gone Wild... - CherokeeForum.com
- 2001-2004 Tail Light Replacement - YouTube.com
- How to Replace Jeep Grand Cherokee Tail Light bulbs - YouTube.com