Jeep Grand Cherokee 1999-2004: Tail/Brake Light Problems
Have you been warned about a brake light problem in your Cherokee? Here are steps to take to identify the problem and fix it.
This article applies to the Jeep Grand Cherokee WJ (1999-2004).
You may have been alerted about tail and brake light problems by the police, or a friend following you somewhere. Perhaps the right light comes on, but the left light doesn’t, or both lights go out when you touch the brakes with the pedal; you might have been alerted by the “Rear Lamp Failure” warning on your dashboard.
You’ll probably be able to fix this problem yourself, but there’s a few causes for the problem that you may need to examine. It could mean replacing a part or a module in the lighting system in your Jeep Grand Cherokee WJ.

Materials Needed
- Small flat head screwdriver
- Pliers
- Replacement parts
Step 1 – Check for corrosion in the sockets and wire chassis
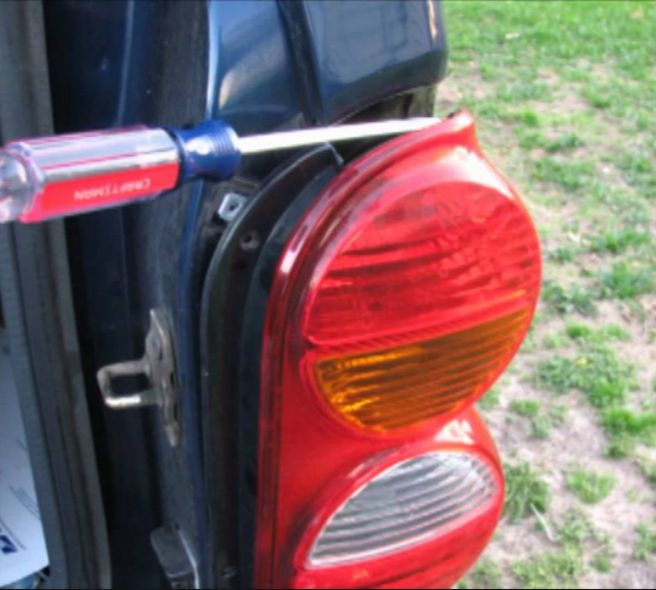
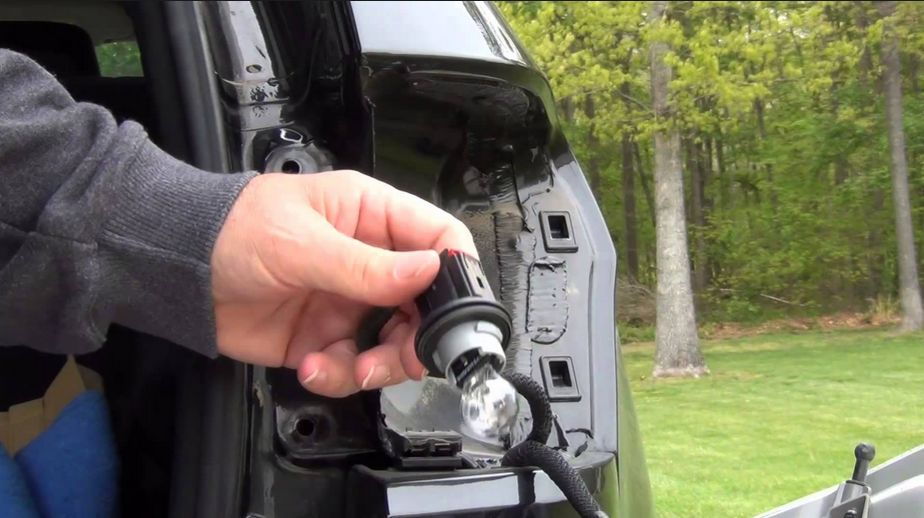
One common problem is that the electrical return path is blocked by corrosion in the sockets or the wire/chassis connection. Start by removing your brake light cover and then removing the bulbs. You might find that corrosion has made the connection poor or cut it off completely.
Take a close look at the common wiring between the lights; they may share an electrical return path. Make sure the wiring connections are working, especially the chassis/return wiring; corrosion may be causing the problem.
Pro Tip
Clean corrosion out of bulb sockets and then cover them with electric grease.
Step 2 – Look at fuses and know the circuit board
You may have a short in the circuit, or it might be a fuse that needs replacing. Check the fuse diagrams. Check to see of one of the fuses has popped.
You’ll notice that there is a circuit board in one of the rear tail light assemblies that will sometimes fail and cause a few problems. That circuit board fails inside the light assembly. If that’s the case the only solution you have is to replace the assembly.
(Related Article: Fuse Box Diagram - CherokeeForum.com)
Step 3 – Make sure the wiring is working
- Start by prying the prongs up in your tail light housing where the bulb sockets twist in to make sure they have a good contact. Make sure the wires in the plug attached to the tail light housing are fully connected to the plug.
- Test the power wire that’s running the tail light. Use a test light and have somebody hit the brakes. If it lights up and passes the test, it might be grounding or light housing.
- Next, you’ll want to check the flasher relay under the dash that could be broken, which is usually caused by hairline cracks in the soldering. Re-soldering them could take care of the problem.
- If these methods don’t fix the problem, you should look at replacing the tail light housing. The circuit board on the inside will eventually crack and fail to work, so the housing needs to be replaced. The turn signal switch can also be broken and cause problems with the turn light, so that should be checked, too.
Step 4 – Check the socket
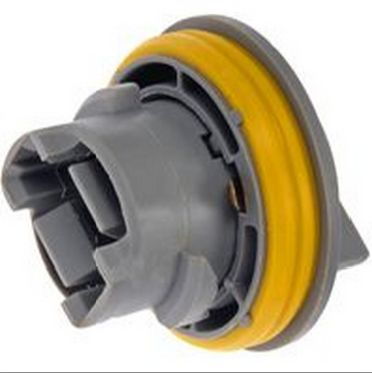
It may be that your socket has burned out and needs to be replaced. Those usually run for about $2 at a retail auto store like O’Reilly Auto Parts.
Make sure the socket is connected, and check to see if the ground is still good. Another thing to check for is to make sure that the bulb socket has been placed in the correct position. You might have gone to a garage where a service technician put it in the wrong way.
Pro Tip
While the socket may be the problem, it might be as simple as replacing the light bulb. If it's been a while since your bulbs were replaced, it might be a good idea to replace them. Even though they can appear to be in good working order, they can still sometimes be faulty.
Step 5 – Check to see if the light bulb is overheating
Heat from the light bulb might be causing the problem. To test it out, start by removing the light assembly like you were going to change the bulb. Of course, start by looking to see that the bulb hasn’t burned out.
Turn the socket to view the assembly, and look for three flat chrome colored contacts. The one at the top by itself is the ground. Plastic around the ground contact may have shrunk, causing the contact to pull away from the socket and cut off the power. Then, use a small flat head screwdriver to gently pry up the contact so that it stays slightly upward by itself.
Related Discussions
- Tail/Brake Light Electrical Problem. Help! – CherokeeForum.com
- Brake Lights, Tail Lights Gone Wild – CherokeeForum.com
- No Brake Lights – CherokeeForum.com

