Jeep Grand Cherokee ZJ 1993-1998: How to Replace A/C Condenser
The condenser's job is to cool the refrigerant down, but if it's broken, you won't get cool air. Learn how to replace it here.
This article applies to the Jeep Grand Cherokee ZJ (1993-1998).
The condenser is designed to release the hot air coming from your A/C into the atmosphere. After some time, the condenser on your Jeep Grand Cherokee can get blocked from dirt and debris, and even though it can be flushed, sometimes extreme blockage is not fixable. Replacing the A/C condenser is not too difficult of a process, and as soon as you install the new one, you will have the refrigerant flowing smoothly through it. Learn how to replace the condenser here.

Materials Needed
- A/C recharge kit
- Ratchet and socket set
- Flathead screwdriver
Step 1 – Remove the grille
To remove the grille, open the hood and remove the six plastic retainers using a flathead screwdriver. Pry them up, then pull them with your hands. Pull the grille up and out to remove.

Figure 2. Remove six plastic fasteners on top. 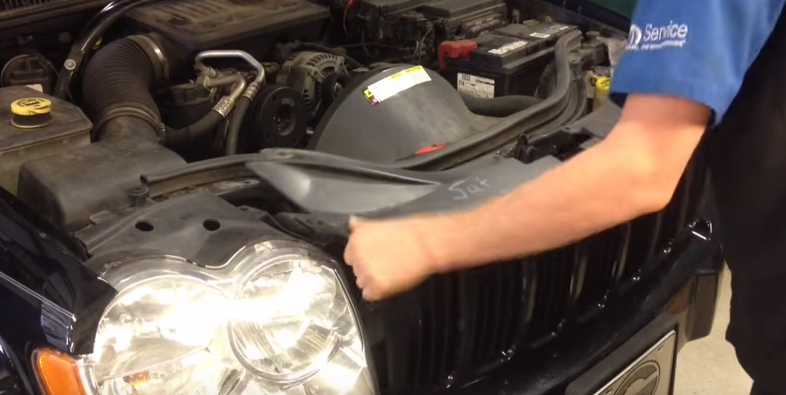
Figure 3. Remove the grille up and out.
Step 2 – Remove front bracket
Remove the four bolts holding the front bracket in place. Two of them are on the top holding the hood latch, and the other two are on the bottom. Remove the hood latch and place it aside, then remove the front brackets.
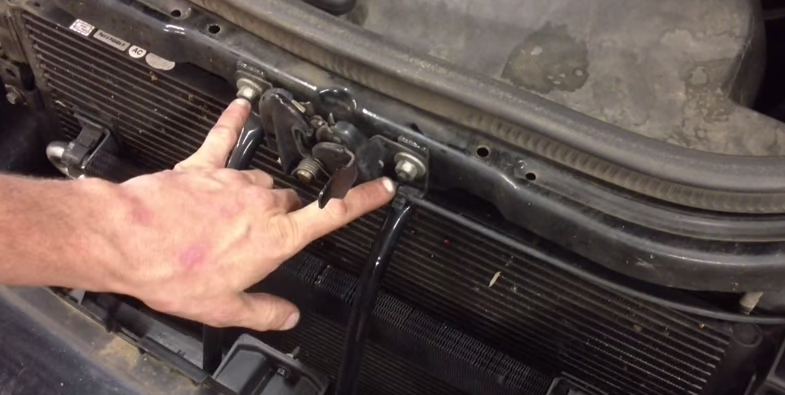
Figure 4. Top two bolts. 
Figure 5. Lower two bolts through the bumper.
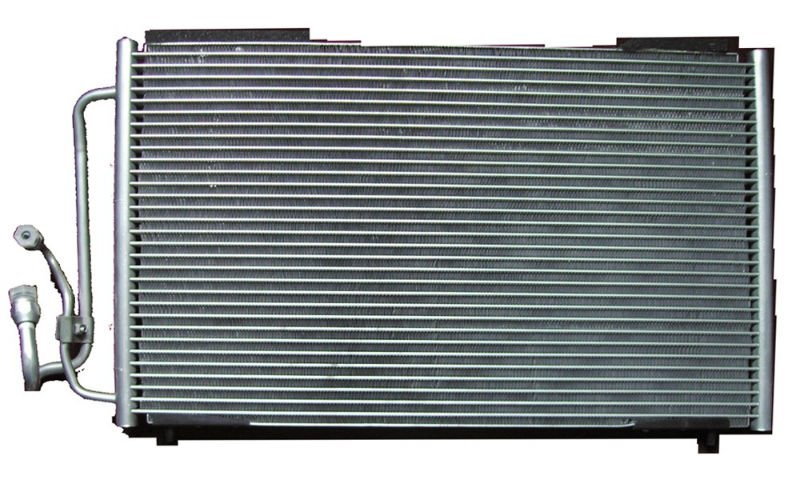
Step 3 – Remove condenser
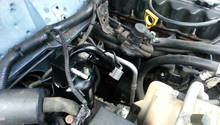
Remove the power steering cooler by squeezing its tabs and pulling it out. Place it out of the way. Using a metal pick, release the clips connecting the transmission lines to the condenser. Remove the 13mm nuts holding the A/C lines in place below the transmission lines. Remove the four bolts holding the condenser in place. Pull out the condenser carefully.
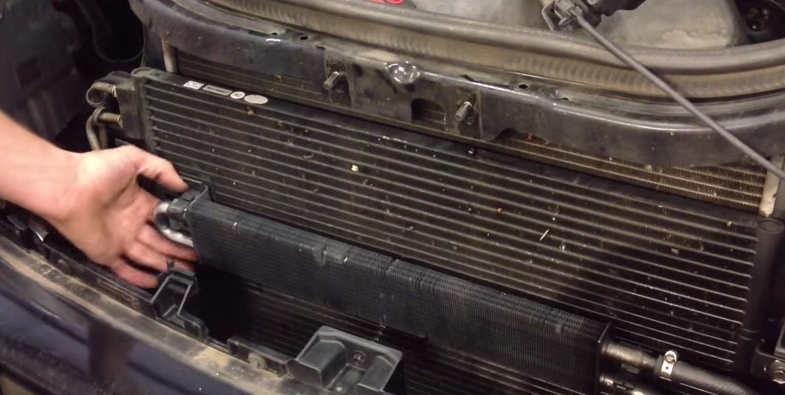
Figure 6. Remove power steering cooler. 
Figure 7. Remove transmission lines; A/C lines are below them. 
Figure 8. Clips used to connect transmission.
Step 4 – Install new condenser
Installation is the reverse of removal.
- Align the new condenser in place.
- Tighten the four bolts holding the condenser in place.
- Tighten the two nuts connecting the two A/C lines to the condenser.
- Install the two transmission lines.
- Install the power steering cooler back in place.
- Install the two front brackets by tightening two bolts on the bottom and two on the top. Don't forget the hood latch.
- Install the grille and its six fasteners.
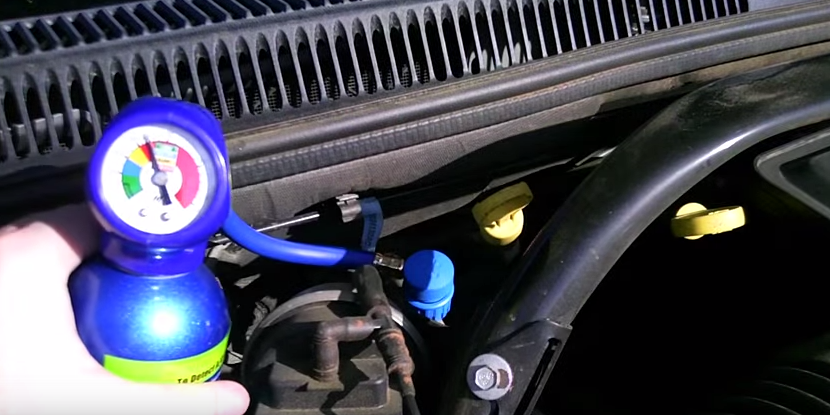
Step 5 – Recharge refrigerant
Using the A/C recharge kit, connect it to the low pressure pot under your hood by the passenger side. Start your car and let it run for a few minutes. Shake the bottle and squeeze the lever to refill. Stop every three to four seconds to shake it, then continue refilling until reaching the appropriate pressure on the back of your kit's box.
Featured Video: A/C Condenser Removal
Related Discussions
- Cooling Problem - CherokeeForum.com
- Remove A/C Lines - CherokeeForum.com