Jeep Grand Cherokee ZJ 1993-1998: How to Replace Brake Pads, Calipers and Rotors
The brake system is the hardest working system in your Jeep Grand Cherokee. With all the grinding on a daily basis, replacing some of its components is a wise piece of maintenance.
This article applies to the Jeep Grand Cherokee ZJ (1993-1998).
The Jeep Grand Cherokee is a big, powerful car, which means the brakes have to work harder to get it to stop. The brake pads get replaced the most. They are designed to clamp on the brake rotors to get the big monster to stop completely. Replacing them with new ones is a cheap and important procedure. If you wait too long to replace them, you may need to replace your rotors as well. Even though it's not a common piece of maintenance, the rotors do get changed more often than the calipers. The calipers only need to be replaced when something is wrong with them, such as getting stuck, in which case you will smell something burning and strange heat coming from your brakes, perhaps even smoke. Learn how to replace all three components here and ensure your Jeep Grand Cherokee is safe.


Materials Needed
- Jack and jack stands
- Tire iron
- Wrench set
- C-clamp
- Flathead screwdriver
- Hose
- Bottle
- New brake components (as needed)
- Assistant or helper
This procedure will start with the brake pads, rotors, then calipers. Feel free to skip the components that you don't need to replace.
Step 1 – Raise the car
Loosen the lug nuts on the wheel you will be changing the brakes at. Raise the car using your jack, and secure it using your jack stands. Remove the wheel.
(Related Article: How to Jack Up Your Car - Cherokeeforum.com)
Step 2 – Replace brake pads
Remove the two bolts on the back of the brake caliper to remove it. Pull it up and remove the two brake pads in it. Pry the clips off using your flathead screwdriver to release the pads. Compress the caliper's piston using your c-clamp. Install the two new pads. If brake pads are the only thing you're replacing, install the caliper back on the wheel hub and tighten the two bolts holding it.
- If you're replacing the rotor, place the caliper somewhere safely, and be sure it's not hanging from the brake line.
- If you're replacing the brake calipers, you don't need to remove or install the brake pads.

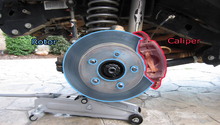
Figure 3. Remove two bolts on back of caliper. 
Figure 4. Remove brake caliper. 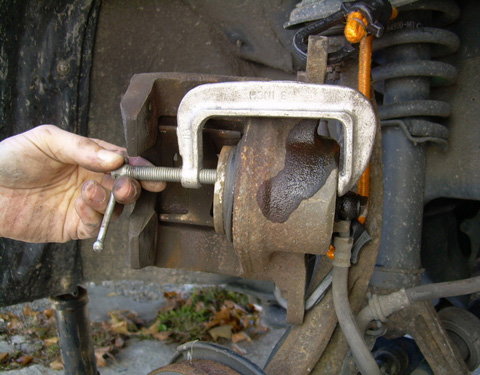
Figure 5. Compress caliper's piston. 
Figure 6. Install new pads.
Step 3 – Replace rotor
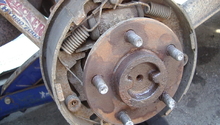
The rotor could be remove by pulling out on it. However, it's never that easy. Either use a rubber mallet to tap the sides of it, and once it gets loose, pull it out, or you can screw two 8mm bolts in the holes until the rotor pops out. Install the new one the same way you removed this one.
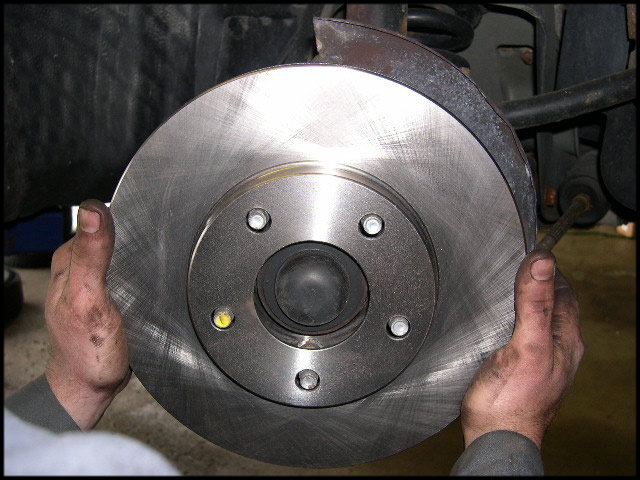
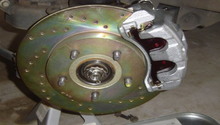
Figure 7. Pull the brake rotor out. 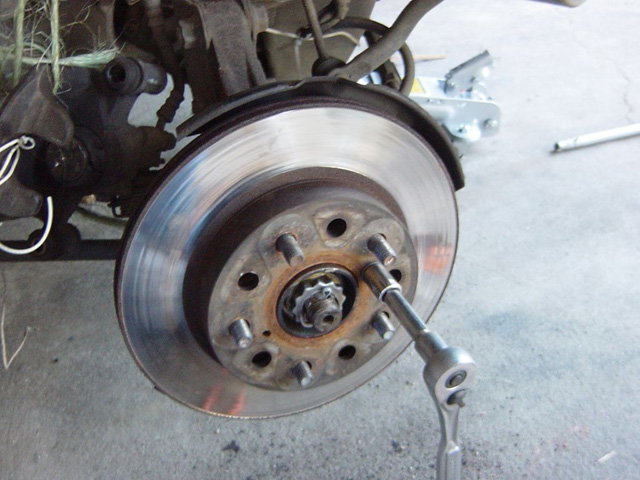
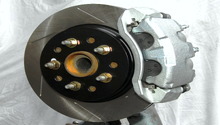
Figure 8. Insert bolts in the holds and screw to pop it off.
Step 4 – Replace caliper
With the calipers already off, you will need to do a quick swap. Loosen the bolt holding the brake line in; as soon as you remove the brake line, install it on the new caliper to avoid excessive leakage. Tighten the brake line bolt, install the brake pads in the new caliper if you haven't already done so, and place the caliper back on the wheel hub. Tighten the two back bolts.
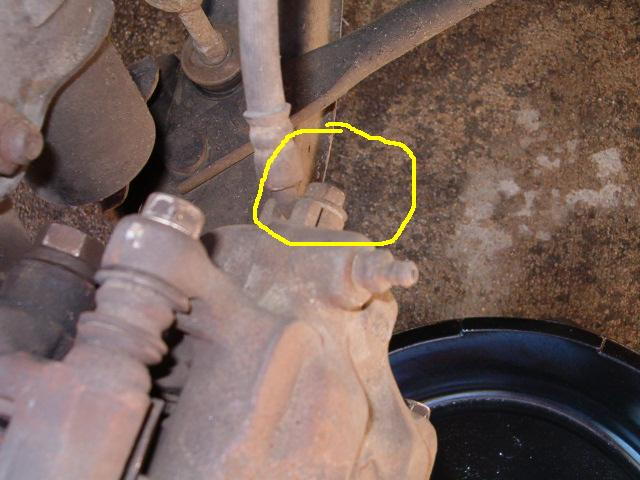
Figure 9. Banjo bolt holding brake line. 
Figure 10. The other bolt is on top.
Step 5 – Bleed brakes
If you're only replacing one of the calipers, you can bleed only that one. However, if you're replacing all of them, then you must bleed the whole system. When bleeding brakes, you always go in the following order, "RR, LR, RF, LF," with the goal of starting at the point farthest away from the master cylinder, and working your way towards the closest part. To bleed the brakes, you'll need a helpful assistant. Attach a tub to the bleed valve in the back of the caliper, leading into a catch pan. Have your friend pump the pedal a few times, and then hold the pedal down as you open the bleed valve. After a few seconds of brake fluid coming out of the caliper, close the valve.
Rinse and repeat the process of pumping the pedal, holding it down and bleeding the system until the fluid coming out of the calipers is clean and free of air bubbles (the enemy!). Top off the brake fluid between each wheel. If the fluid gets too low, you will need to start the process all over again as air could be induced into the system.

Figure 11. Bleeder valve. 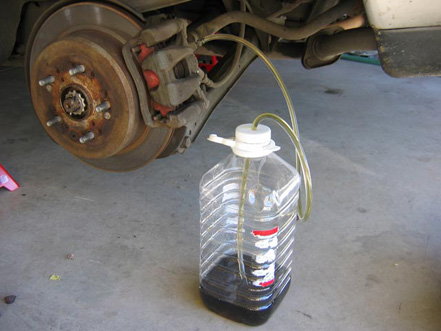
Figure 12. Bleed the brakes.
Related Discussions
- Brake Installatio What Am I Doing Wrong - CherokeeForum.com
- New Brakes, New Pads No Braking - CherokeeForum.com