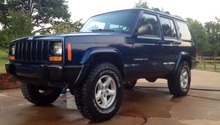
Jeep Grand Cherokee ZJ 1993-1998: How to Replace Track Bar
Don't risk the infamous death wobble on your Jeep Grand Cherokee ZJ. Learn how to replace the track bar here.
This article applies to the Jeep Grand Cherokee ZJ (1993-1998).
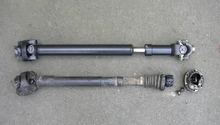
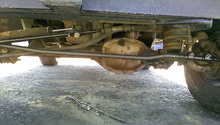
Your Jeep comes with two track bars from the factory, one for the front axle and one for the rear. The track bars are there to essentially help the axle locate and align itself under the Jeep to keep itself centered and straight. When the joint on them wears out, it can lead to issues like the death wobble that happens when going certain speeds because it's allowing the axle to move around. When lifting your Jeep, you'll need to either get an extended or an adjustable track bar to align the axle back up. Otherwise, you can find yourself with your axle off an inch or more.

Materials Needed
- Flat head screwdriver
- 15mm socket
- Pickle fork
- Hammer
- Floor jack
- Two jack stands or drive-on car ramps.
Step 1 – Raise the vehicle
Unless your Jeep is lifted or you're a very small person, you'll most likely need to raise the vehicle. You can either use drive-on car ramps or a set of jack stands. If you use jack stands, make sure you have them on both sides of the axle at the same height. This will ease in both track bar removal and install. Whichever route you choose, make sure to park on flat ground and set the parking brake.
(Related Article: How to Jack Up Your Car - CherokeeForum.com)
Step 2 – Remove front track bar
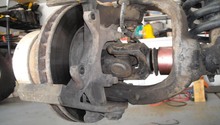
- Remove the 15mm bolt on the passenger side of the vehicle where the track bar mounts to the axle.
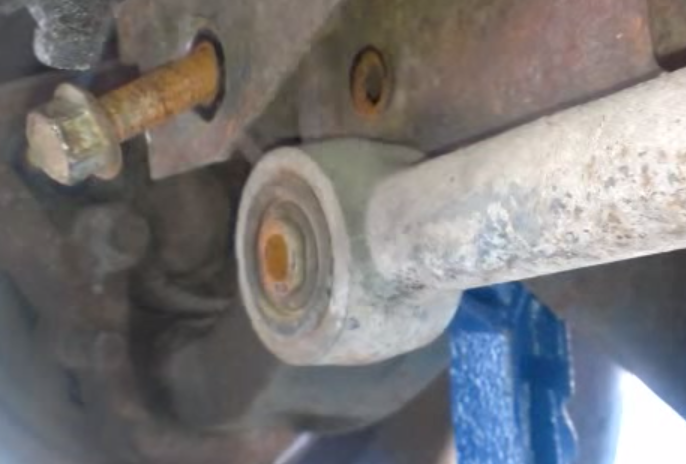
Figure 2. Passenger side bolt removed. - Using a flat head screwdriver or a pair of wire snips, remove the cotter pin on the castle nut on the driver side of the vehicle where the track bar mounts to the frame.
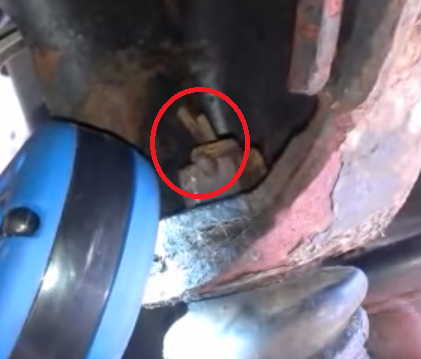
Figure 3. Cotter pin in track bar. - Remove the castle nut. The size of this nut will depend on the type of track bar you have as pretty much every brand uses a different size.
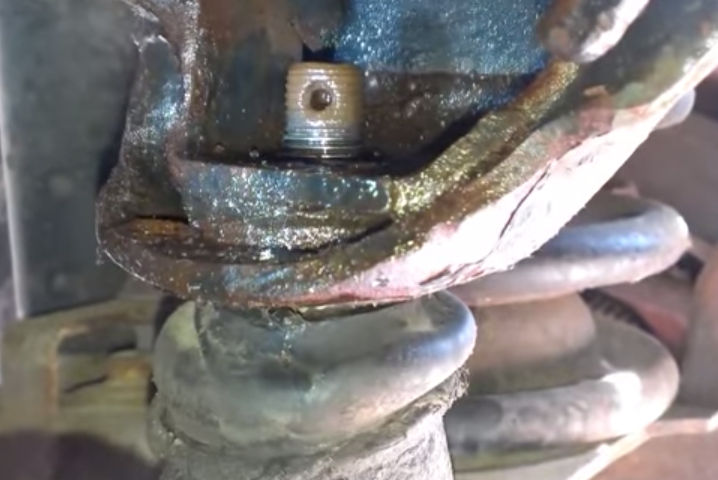
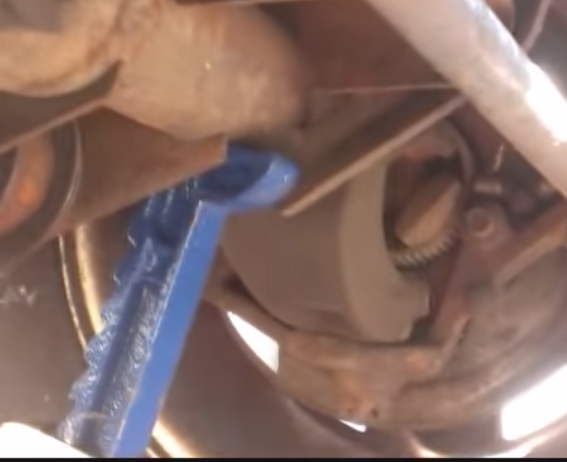
Figure 4. Castle nut removed. - Using the pickle fork, wedge it between the joint and the frame mount. Give the end of the pickle fork hard blows with a hammer until the joint pops free.
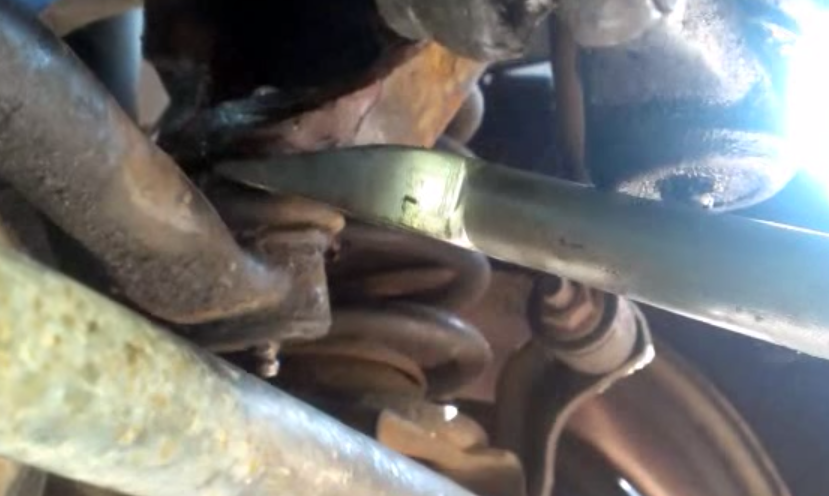
Figure 5. Pickle fork placement. - Remove the track bar.
Step 3 – Install front track bar
- Slide the joint side of the track bar (driver side) into place and tighten the castle nut 1-2 turns. This is just to help hold it in place for the time being.
- Install the 15mm bolt on the passenger side next; this needs to be torqued to around 30-35 ft-lbs.
- Fully tighten the castle nut and torque to 25-30 ft-lbs.
- Install the new cotter pin. You may need to tighten the castle nut a little bit more to get the cotter pin holes to align correctly. Don't forget to bend the cotter pin legs so that it can't pull out.
Related Video
-
Death Wobble Fix, Replacing Jeep Track Bar - YouTube.com